For the past few years, I’ve kept a private, digital journal filled with photos and stories about family life. I used an app called Momento, but recently decided to switch to Day One because it offers me several advantages:
Why choose Day One over Momento?
| Feature | Momento | Day One |
|---|---|---|
| Supported devices | Phone only (iOS or Android) | Multiple platform support |
| Syncing | No sync | Syncs to Day One cloud |
| Sharing | Not supported | Share journals with people you choose |
Getting started
If you’re considering making the same switch, here is a simple guide based on my own experience. My setup includes:
- iPhone 13 Pro running iOS 18.3.2
- MacBook Air M4 running macOS Sequoia 15.4
- Momento Premium subscription (see note on Momento below)
- Day One Premium subscription
Step 1: Export your data from Momento
You’ll need a premium subscription to Momento (or use the free trial month) in order to export your data.
The basic process of exporting data from Momento is detailed in the help pages. However, I found the instructions unclear in some places, so here are a few additional tips from me:
- Limit your exports to 5GB (try yearly batches if your data includes photos and videos)
- When you tap on Create Export the export file is generated and a link appears within the app like this:
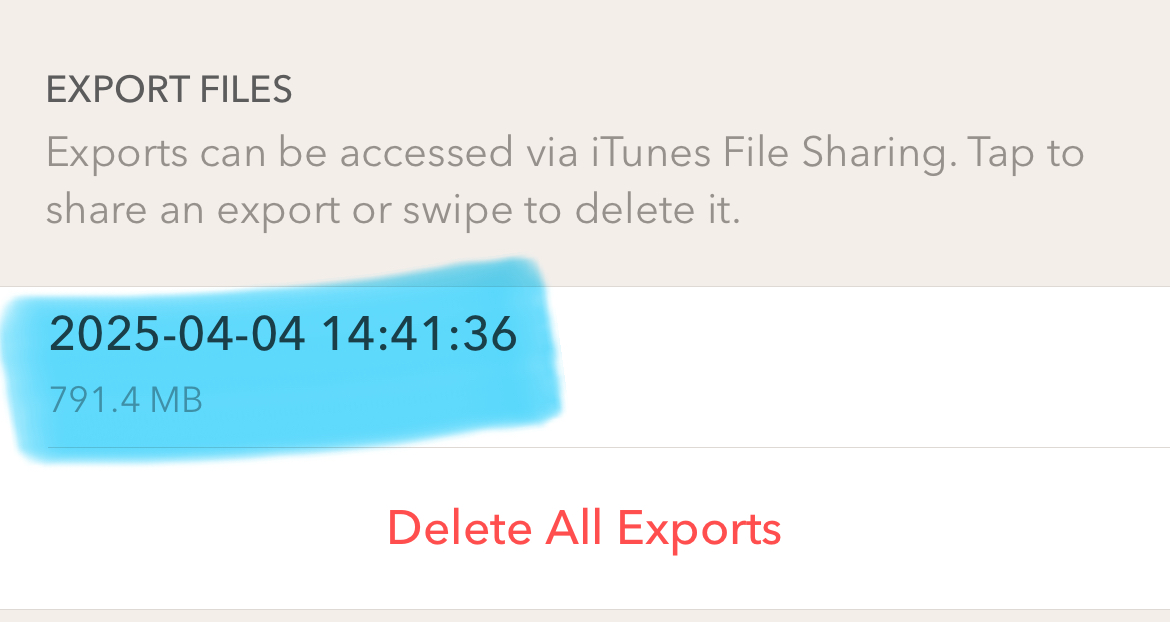
Export file created in Momento app
- Tap on the export file and you will be asked if you want to share it. Tap on Share.
- Choose the option to Save to Files and choose a location in your iPhone files to save it.
- Once you have saved the export file to your phone, you can transfer it to a laptop for further processing using AirDrop or your preferred method.
Step 2: Prepare your data for Day One
The text file generated by Momento needs to be converted to a format and structure that can be read by Day One.
Momento exports your journal as a text (.txt) file that looks like this:
20 July 2010
============

10:05
We had an awesome day at the theme park today!
Media: F6E39CC8-BCF8-4310-8E63-369C9B833FC2_original.jpg

10:30
The rides were wild and scary.

15 July 2010
============

09:04
Today it was time for a trip to the museum.
At: Natural History Museum, Cromwell Road, South Kensington (51.496727, -0.176484)
Media: 6EEB86F3-29C5-4D91-91F0-7CA5BA744230_original.jpg
This needs to be converted to a format that Day One can import. I’d suggest using CSV if you don’t need to include media (photos and videos) or JSON if you do.
Tips for CSV
- The full list of accepted fields for CSV import can be found here.
dateandtextare the only required fields for the CSV import. All other fields are optional.datemust be provided in ISO 8601 format, including 3 decimal places for milliseconds, like this:2017-02-25T10:54:00.000Z.
If you’re comfortable with basic coding, I have shared an R script on GitHub that automates the conversion, using only the date and text fields.
Tips for JSON
- While Day One does provide an example file that shows the expected JSON structure, I recommend creating a couple of test entries in a temporary journal within Day One, including whatever elements you expect to be importing (text, media, tags, location etc) and then export that journal to a JSON zip file. That way you have a better sense of how the JSON file relates to the front-end journal entries.
If you’re comfortable with basic coding, I have shared a python script on GitHub that automates the conversion.
Step 3: Import data into Day One
Day One imports will automatically be added to a new journal called Exports and must then be manually transferred to your journal of choice.
The process for importing entries into Day One is well described in the help pages so I won’t detail it here. Be aware that when you import entries they will be added to a new journal called Export. You can easily move them to your preferred journal within Day One.
Conclusion
Switching to a new journalling platform can seem like a daunting task, but the advantages of the new platform can make it a worthwhile upgrade. I hope that this guide simplifies the process for you.